Adding configuration settings
config.RmdNow we’ll see how configuration works by making our tiny extension only slightly more complex: instead of showing the hardcoded string “Hello, world!” we’ll allow the dashboard author to specify who is being greeted.
We will use a configuration dialog to:
- Prompt the dashboard author for the greetee1
-
Save their input as a setting called
"greetee" - Read that setting when dynamically rendering the greeting
Full source code
Replace the contents of your app.R file with this code:
# filetype: shinyApp

library(shiny)
library(shinytableau)
library(shinyvalidate)

manifest <- tableau_manifest_from_yaml()

ui <- function(req) {
  fillPage(theme = shinytableau_theme(), padding = 12,
    textOutput("message", container = h2)
  )
}

server <- function(input, output, session) {
  output$message <- renderText({
    paste0("Hello, ", tableau_setting("greetee"), "!")
  })
}

config_ui <- function(req) {
  tagList(
    textInput("greetee", "Whom would you like to greet?", "world")
  )
}

config_server <- function(input, output, session, iv) {
  # Ensure that the user provides a value for input$greetee
  iv$add_rule("greetee", sv_required())

  # config_server must have a save_settings function
  save_settings <- function() {
    update_tableau_settings_async(
      greetee = input$greetee
    )
  }

  # config_server must always return the save_settings function
  return(save_settings)
}

tableau_extension(manifest, ui, server, config_ui, config_server,
  options = ext_options(port = 3456)
)
If your RStudio session is still running the previous version of the code we wrote, stop it now by either clicking in the Console pane and hitting Escape, or pressing the stop-sign icon in the Console toolbar. Then run the new code with Ctrl+Shift+Enter/Cmd+Shift+Return. This will launch the extension’s Info page again, but you can just ignore it.
Reloading the extension
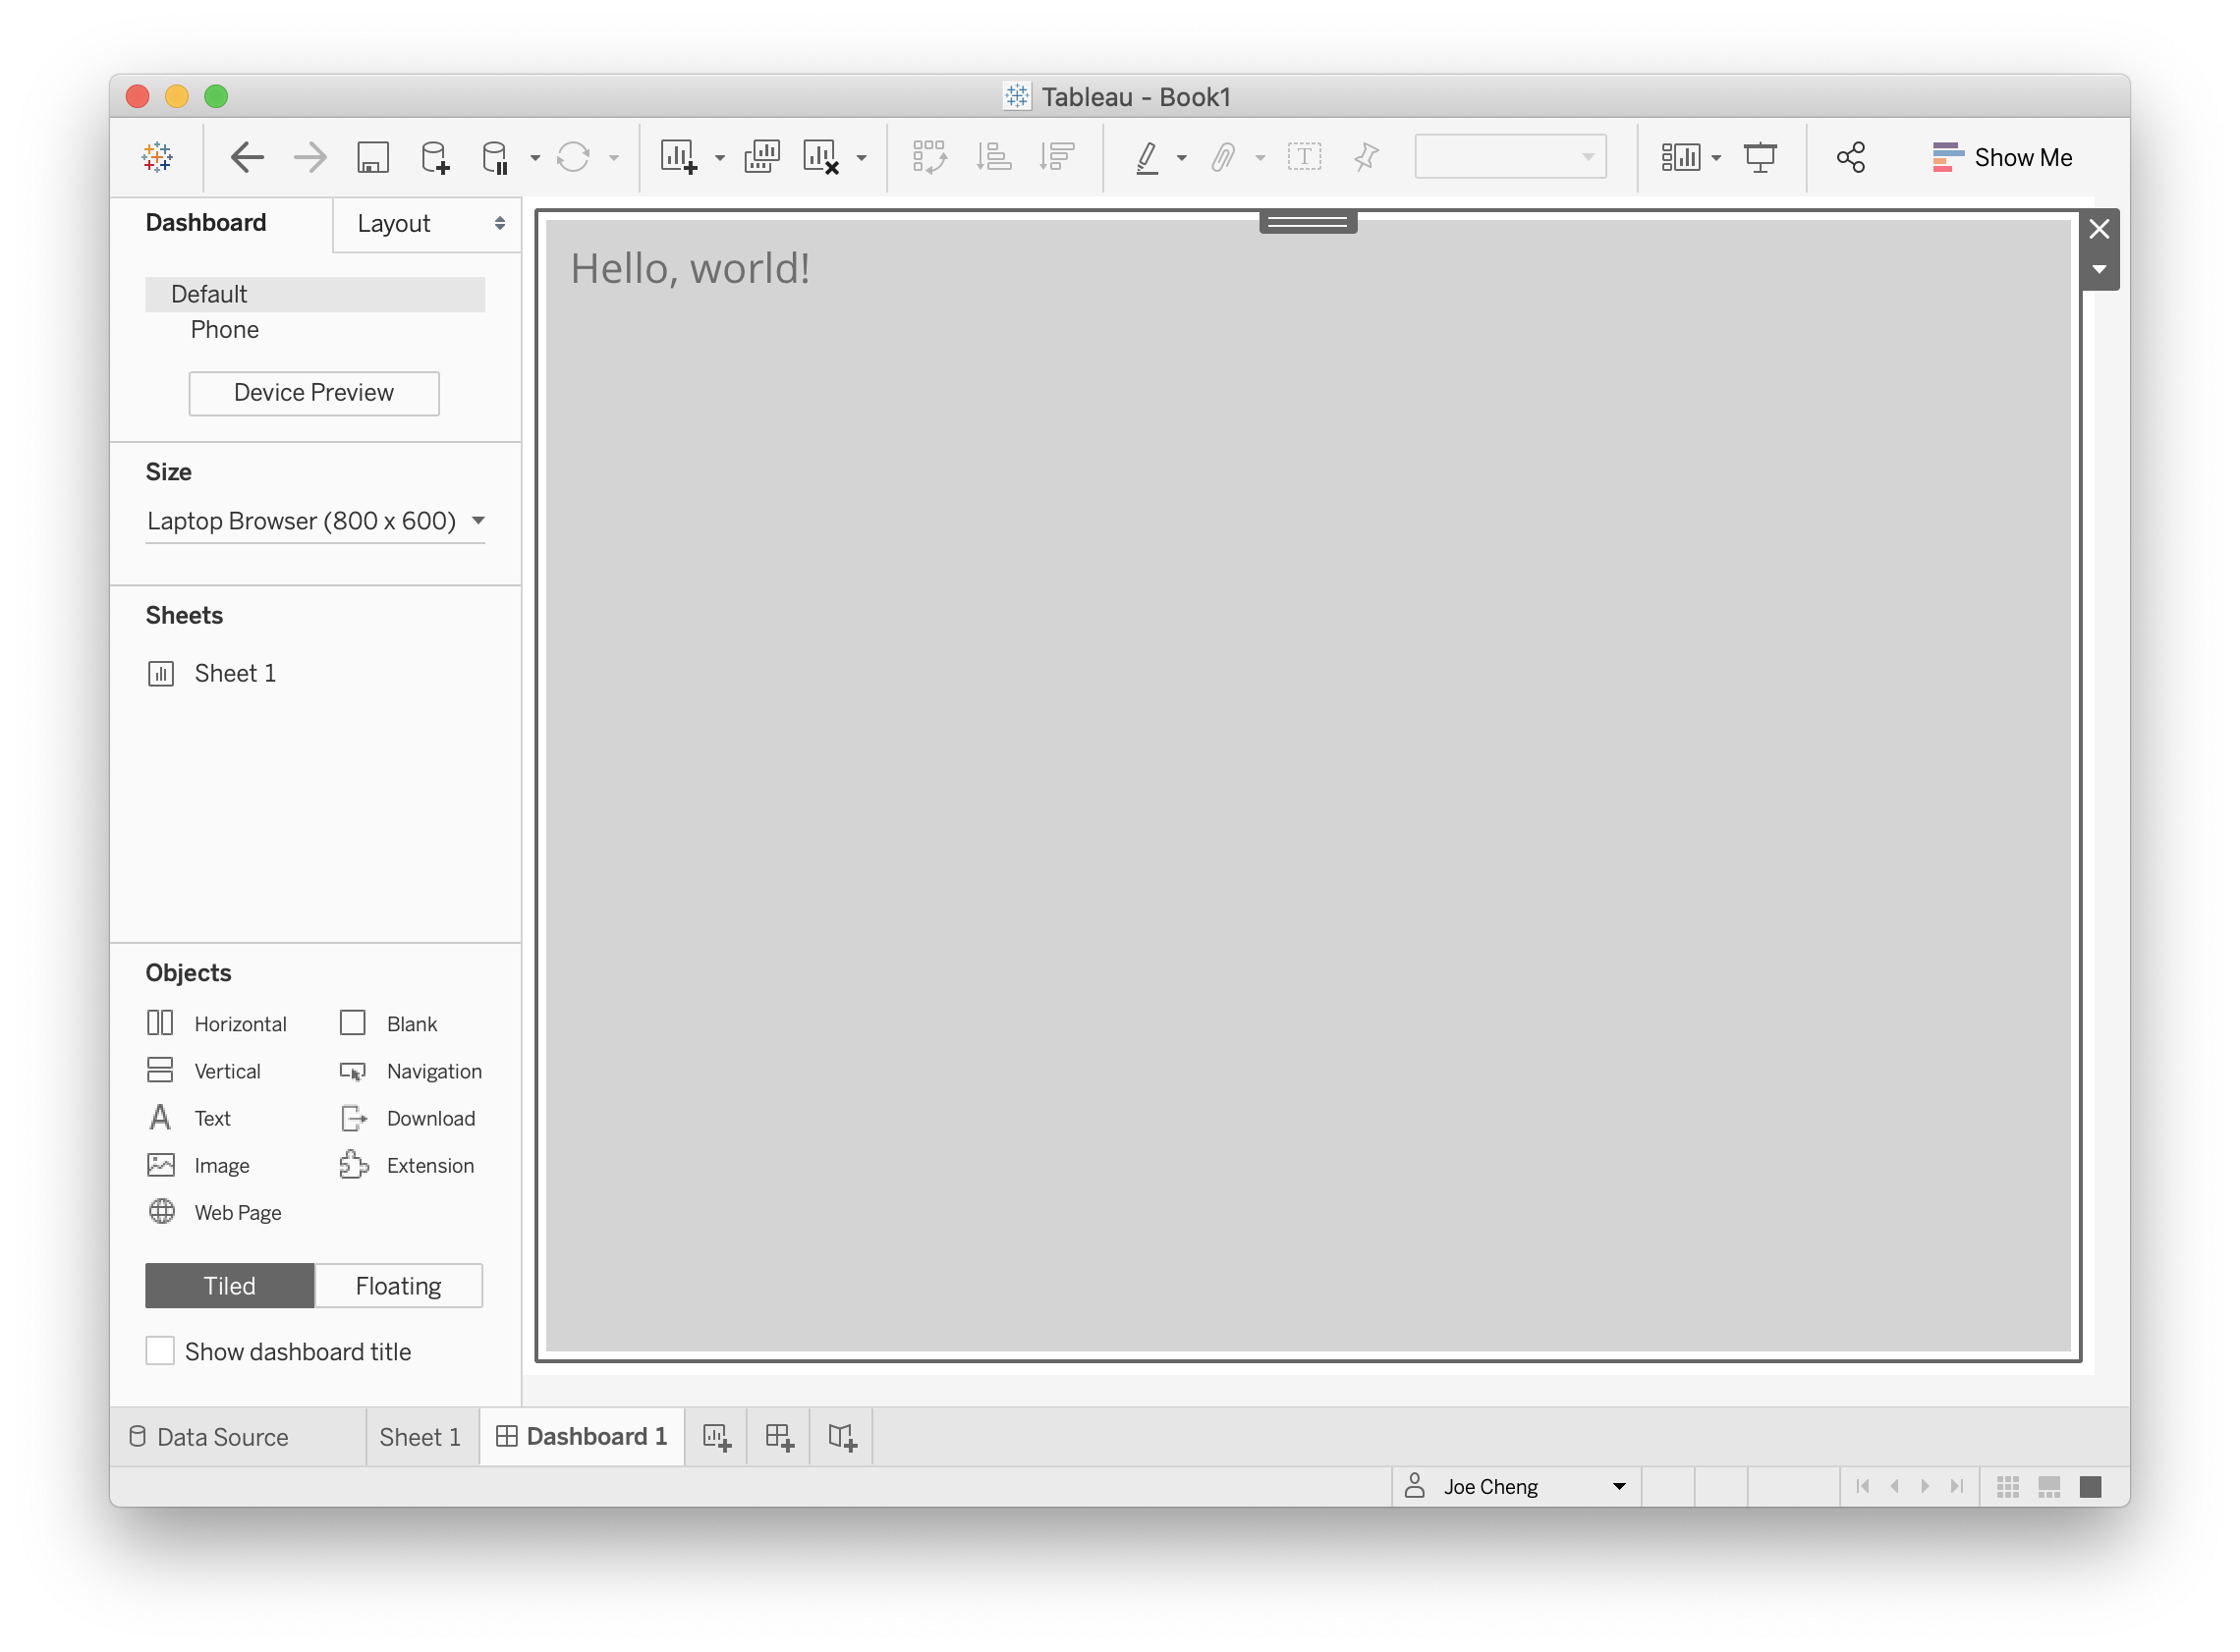
If you now switch back to Tableau, you will see that your extension is greyed out.

That’s because when you stopped the app in RStudio, the connection between Tableau and the extension was broken. Now that the app is running again, you will need to reload the extension:
If you’re using Tableau Desktop, select the extension, and from the More Options menu (the triangle icon on the border of the extension, see the next screenshot) choose Reload.
If you’re using Tableau Server or Tableau Online, reload the browser.
This will be our normal workflow whenever we make a change to our app.R file: restart the Shiny app in RStudio, then reload the extension (or page) in Tableau.
Invoking the config dialog
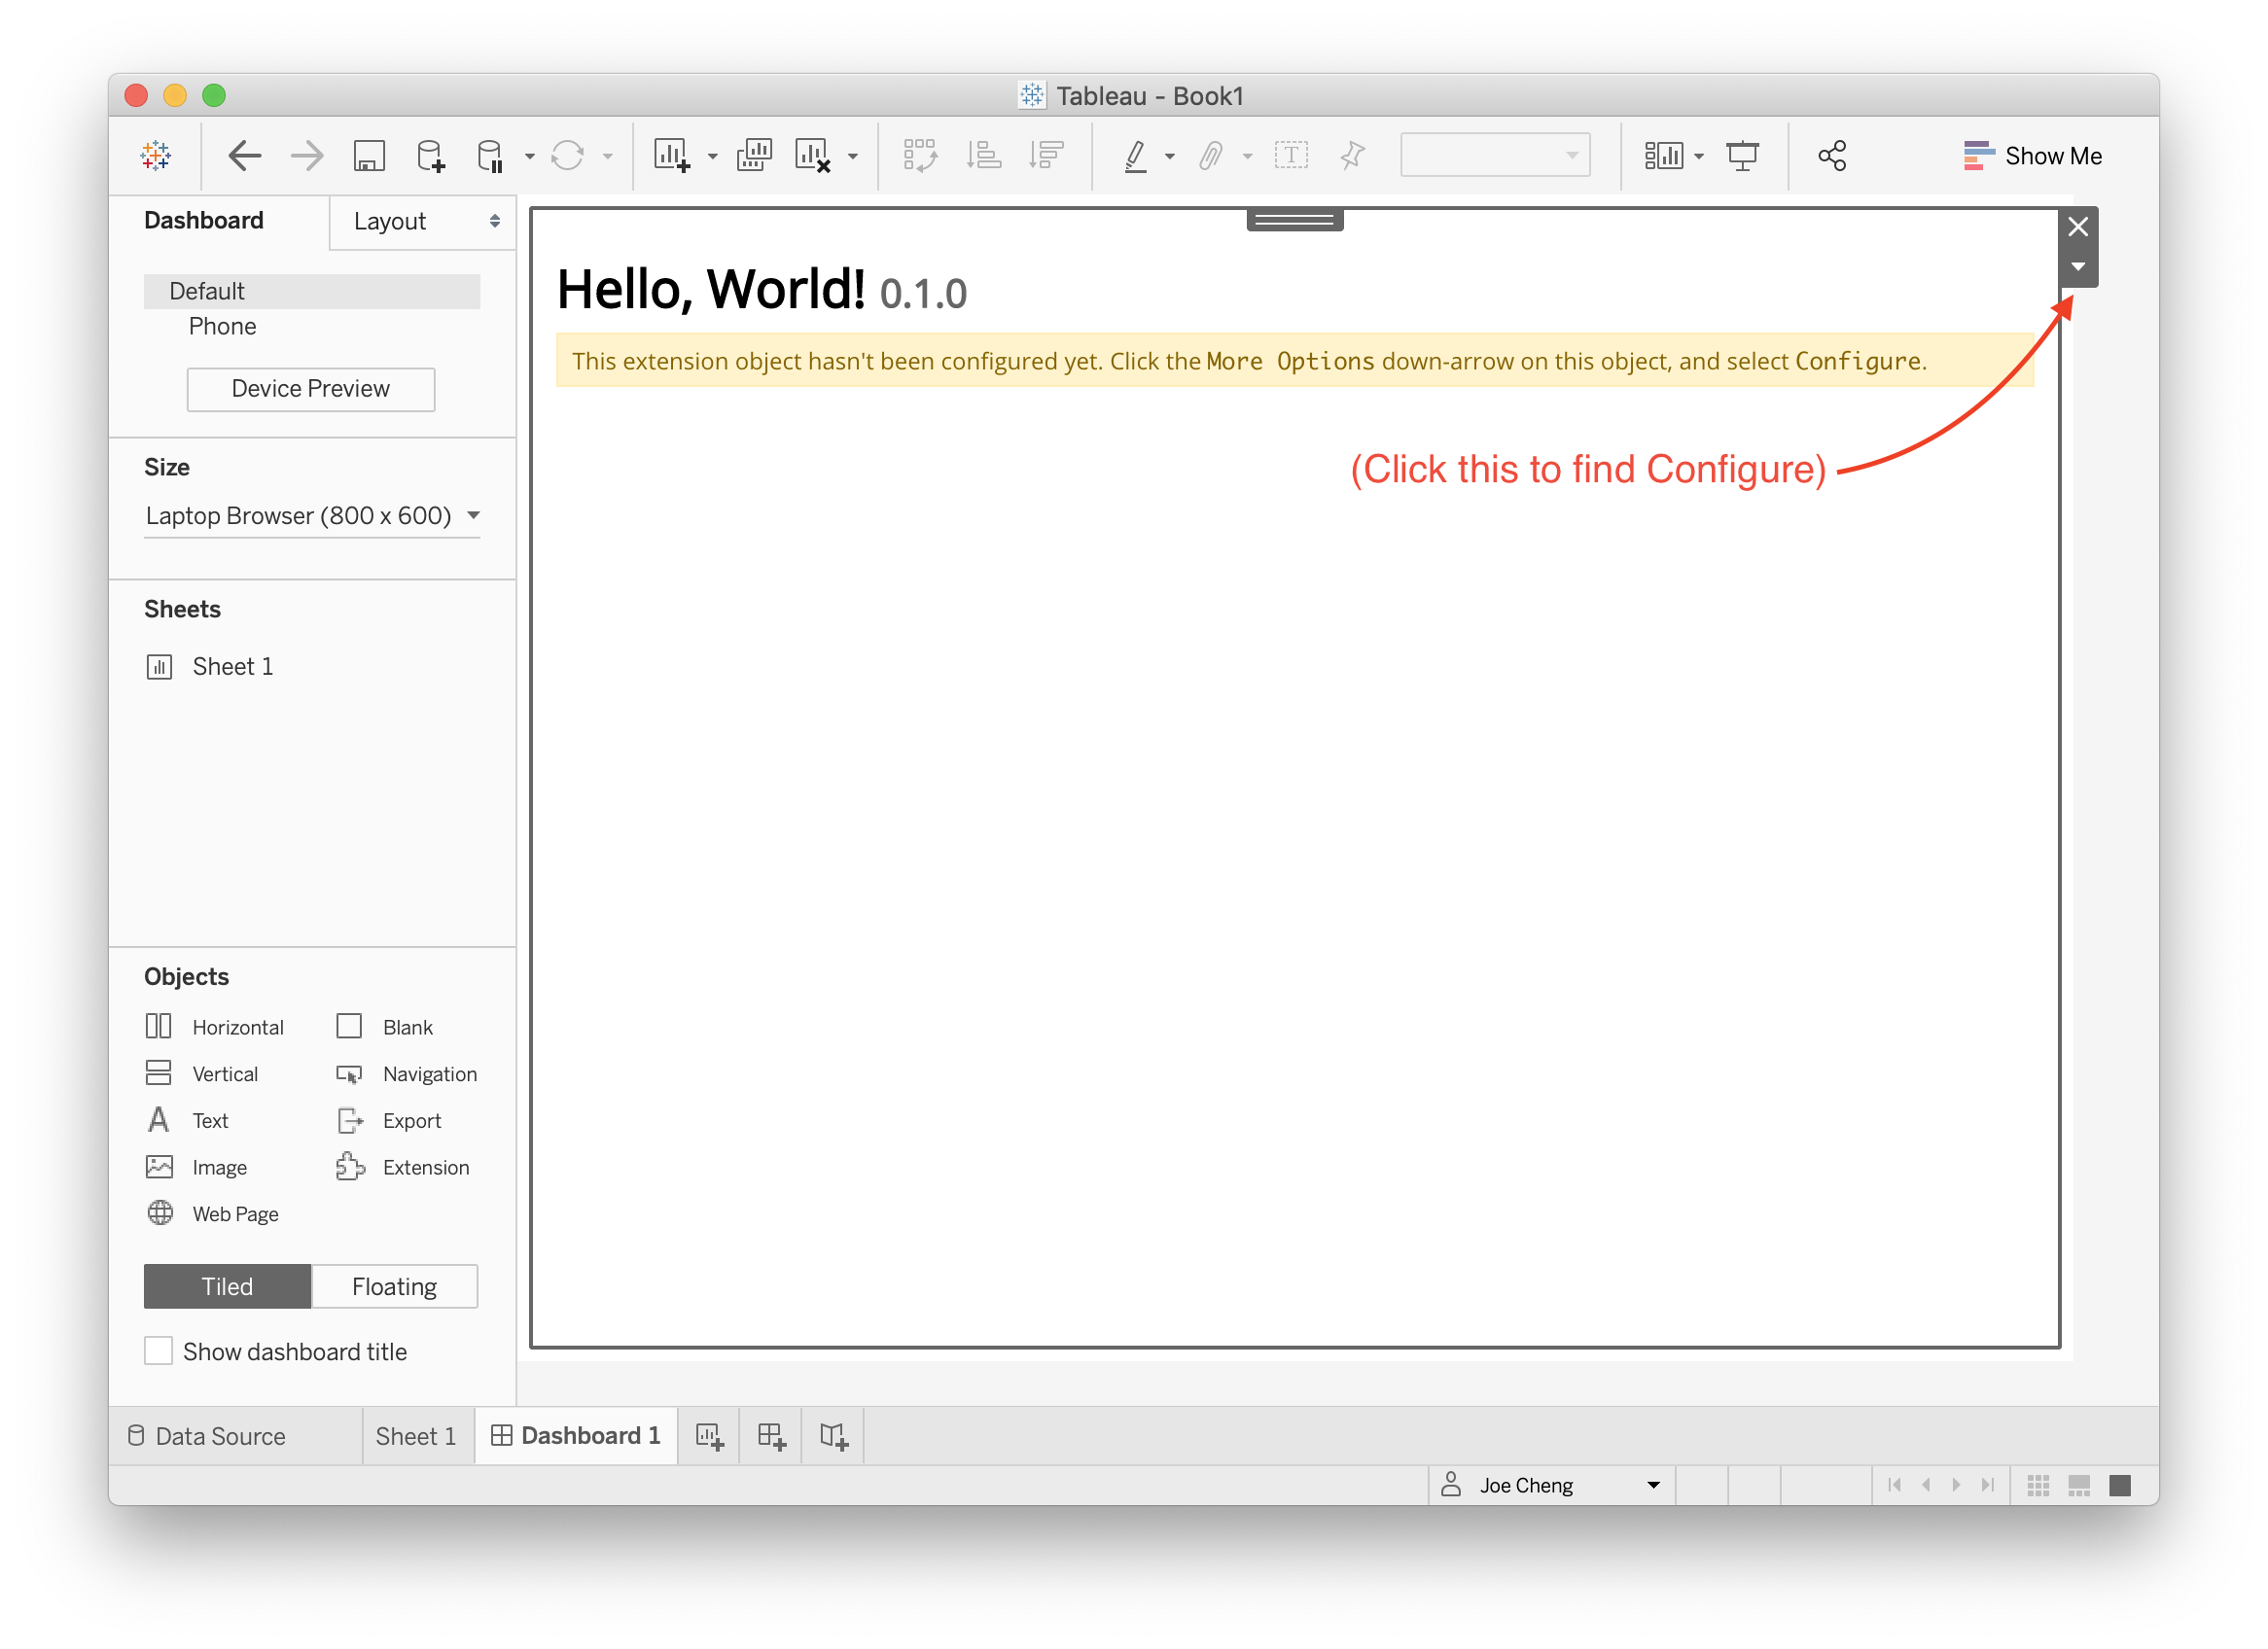
Now you should see something like the following screenshot: the extension object shows only the name of the extension, and a message that you need to configure the extension.

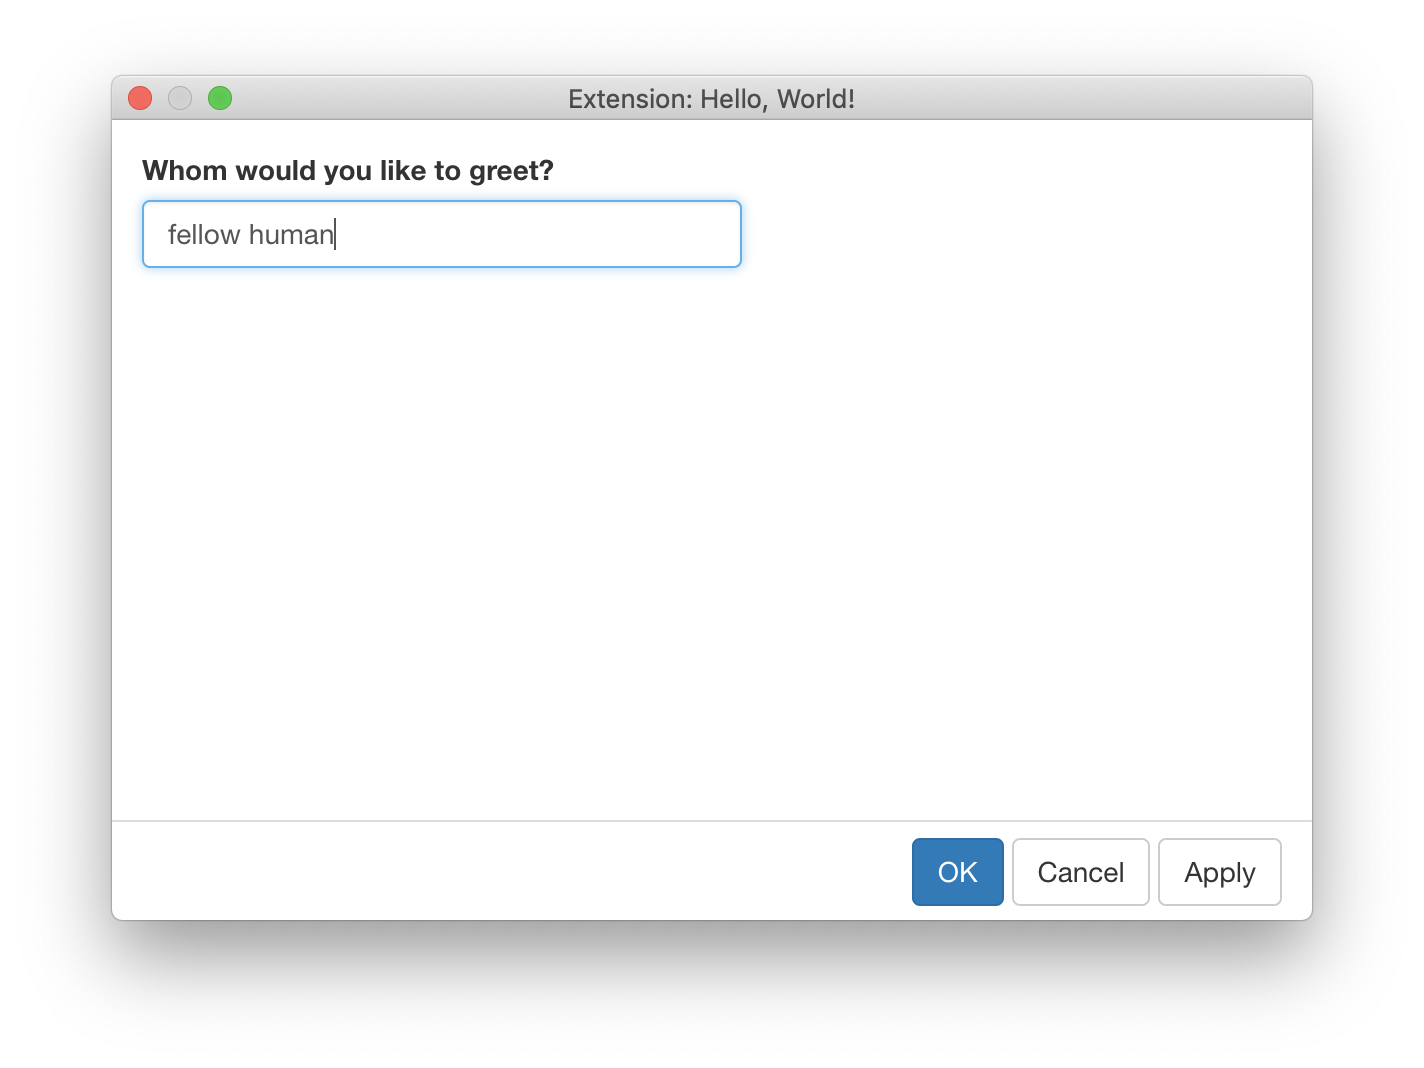
Clicking Configure shows a text input:

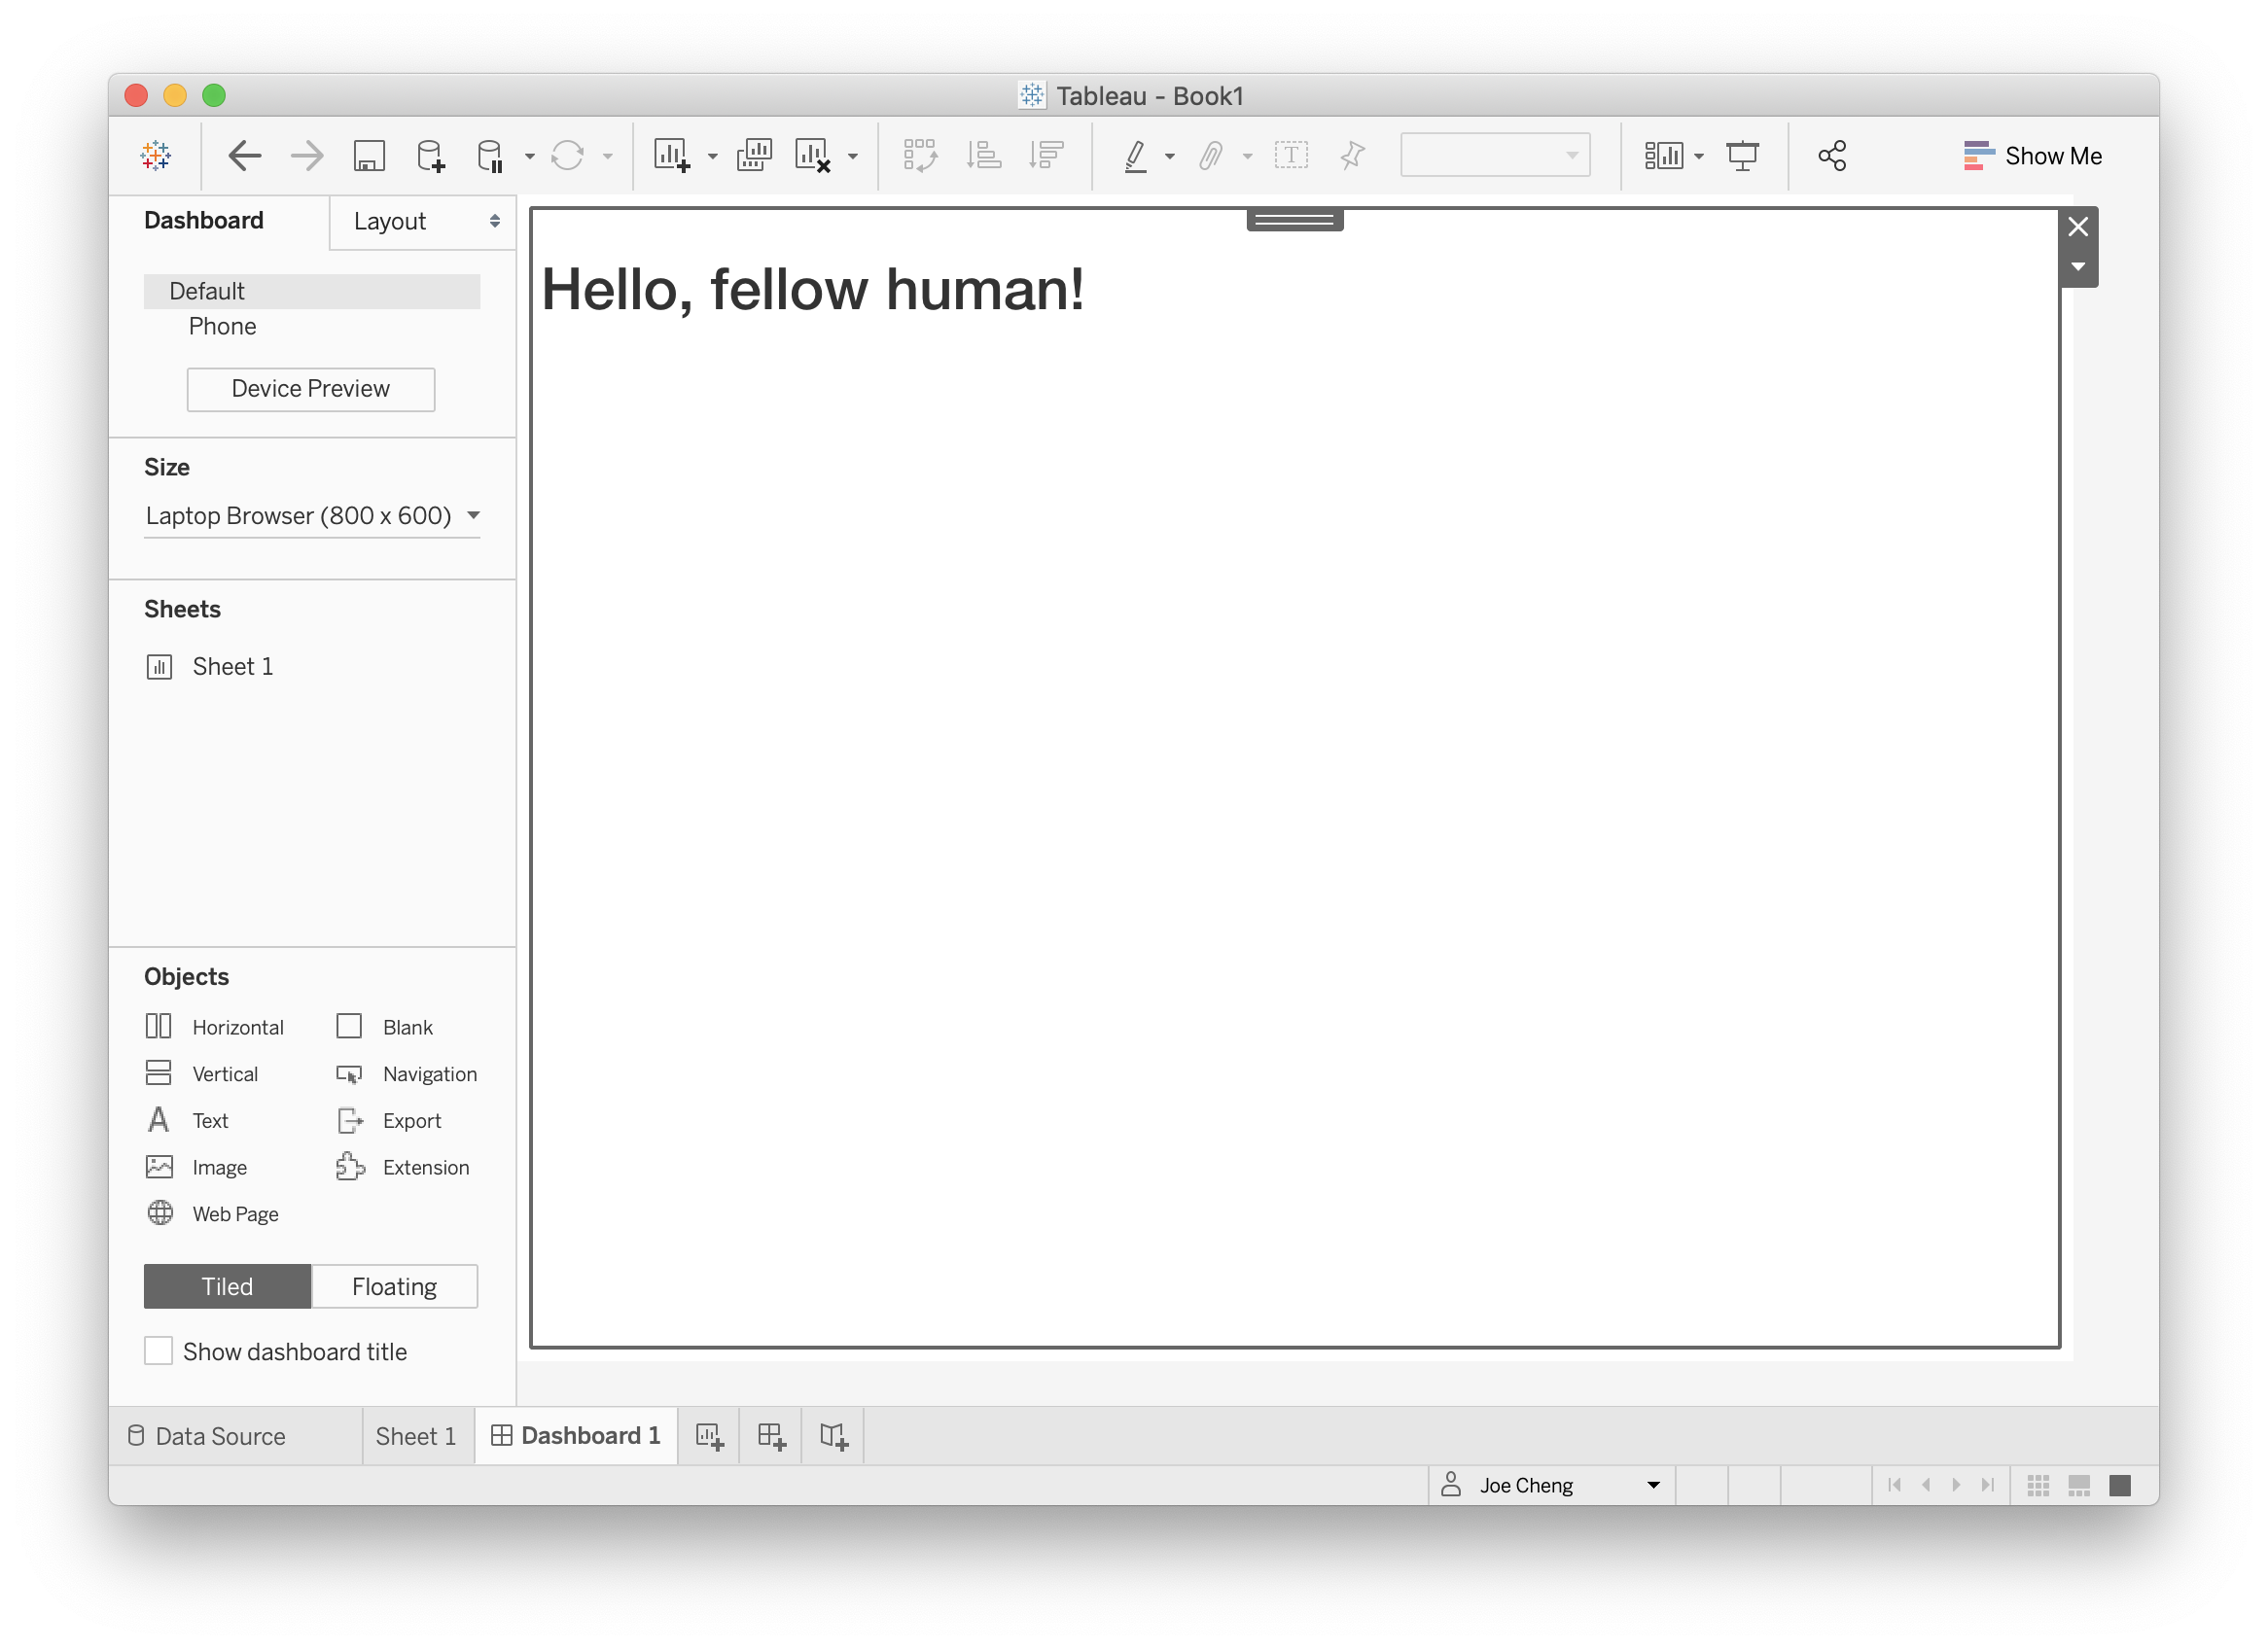
Type in a value and click OK, and you should see the extension object instantly update to reflect your change.

Compared to the “Hello, World!” version, we’ve made a number of important changes that accomplish two things: defining a configuration dialog, and reading settings that are set based on user input to that dialog.
Creating the config dialog
Most obviously, we now have config_ui and config_server, which together represent the configuration dialog. These two variables are passed to tableau_extension as the next two arguments after ui and server.
The job of config_ui/config_server is to take input about the user’s preferences (in this case, what message should be displayed), and save them as settings. Each extension instance has its own set of settings; that is, if the same extension is dropped on a dashboard three times, then there are three extension instances, each with their own completely independent config dialogs and settings.
There are several essential requirements for config_ui and config_server that you need to know about.
config_ui
As we said about ui above, config_ui needs to be a function(req) { ... } that returns some UI object, not just the UI object itself as you can do in a normal Shiny app.
Also, most Shiny ui (including shinytableau ones) should have a fluidPage, fillPage, or other page function as their outermost call, but this isn’t the case with config_ui. The UI you return from config_ui will be inserted into a configuration dialog UI that shinytableau creates for you. So instead of fillPage(), use tagList().
config_server
There are two new requirements for config_server versus a regular server. First, a normal Shiny server is a function that takes input, output, and session arguments; a config_server takes an additional iv argument. This represents an InputValidator object from the shinyvalidate package. You use iv to tell shinytableau which user inputs must be provided, and any validation rules that must be enforced. Any required inputs that are missing, or failing validation rules, will display errors in the form and prevent the OK and Apply buttons from taking effect.
Second, a config_server function must declare a save_settings function, and must return this function. This is in contrast to regular Shiny server functions, which do not return anything2. The save_settings function should take no arguments and, when called, should call update_tableau_settings_async to persist whatever settings the user has specified. In this case, we’re taking the user input, input$greetee, and persisting that as a setting named greetee.
config_server <- function(input, output, session, iv) {
  # Ensure that the user provides a value for input$greetee
  iv$add_rule("greetee", sv_required())

  # config_server must have a save_settings function
  save_settings <- function() {
    update_tableau_settings_async(
      greetee = input$greetee
    )
  }

  # config_server must always return the save_settings function
  return(save_settings)
}
(Advanced R users may be wondering if, rather than declaring and returning save_settings, simply having an anonymous function as the last expression would be sufficient. Yes, that works, but doing it the recommended way makes the intent more immediately obvious.)
The values you pass to update_tableau_settings_async() will be saved as JSON objects, so it’s a good idea to keep things simple: atomic numeric, character, and logical vectors are safe to use, as are unnamed and named lists. NULL is fine too. It’s not a good idea to save more specialized objects like factors, data frames, environments, R6 objects. Even Date objects should probably be converted to character first, and parsed back into a Date by whomever is reading the setting.
Speaking of reading settings…
Reading settings
Now that we’ve discussed how config_ui and config_server can let you write settings, we can talk about the much simpler topic of how to read settings from the extension object (i.e. server).
The main way you’ll access settings is by calling tableau_setting(setting_name), e.g. tableau_setting("greetee") in the example above. The important thing to note is that tableau_setting performs a reactive read, so whomever is doing the reading (i.e. reactive expression, reactive observer, or reactive output) will be triggered when the setting changes.
You can call tableau_settings_all() to retrieve all of the current settings as a list. Generally you should try to use tableau_setting in favor of tableau_settings_all, because the latter takes a reactive dependency on all of the settings, even if you’re not actually interested in all of them.
Next step: Accessing data from Tableau